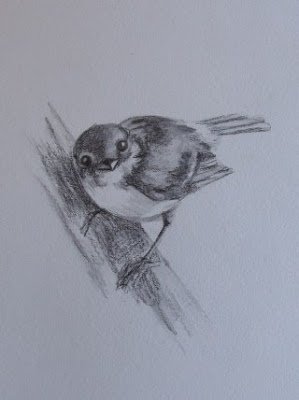
Transfer your outline drawing to the watercolour paper by tracing onto tracing paper then rubbing the back of the image with the water-soluble graphite pencil. Place the template, graphite side down, in position on the watercolour paper and draw over the image with a biro or stylus. Keep a light touch so as not to engrave the image into the paper.
Using a 4B and 2B water-soluble graphite pencil , shade the darkest areas. The colour spreads once it is wet and can be quite strong so I prefer to start cautiously. Although the graphite CAN still be erased after it has been wet it is still easier to darken than to lighten.
Using a wet no 8 sable round brush blend the graphite. Always consider the direction of the feathers and the shading with your brushstrokes.
 Let the piece completely dry then reinforce the darkest areas with the water-soluble graphite pencil. If any areas are too dark they can be lightened with a normal graphite eraser. Alternatively they can be wetted and lifted out with a tissue.
 Ensure that the paper is DRY before using an eraser or you will damage it .
Blend again with your damp paintbrush. Highlights can be lifted out with a normal pencil eraser as I have done around the eyes and along the leg. Graphite can be erased from anywhere that you feel your picture has become too dark.
Finally, add the yellow. Keep some variation in the tone. I have used cadmium yellow watercolour here, but watercolour pencil, soft pastel or coloured pencil would be just as effective. Watercolour cannot be removed with the eraser but can be lightened if necessary by rewetting and lifting out with a tissue.


No comments:
Post a Comment